What Is Randonneuring: A Complete Guide to Becoming a Randonneur
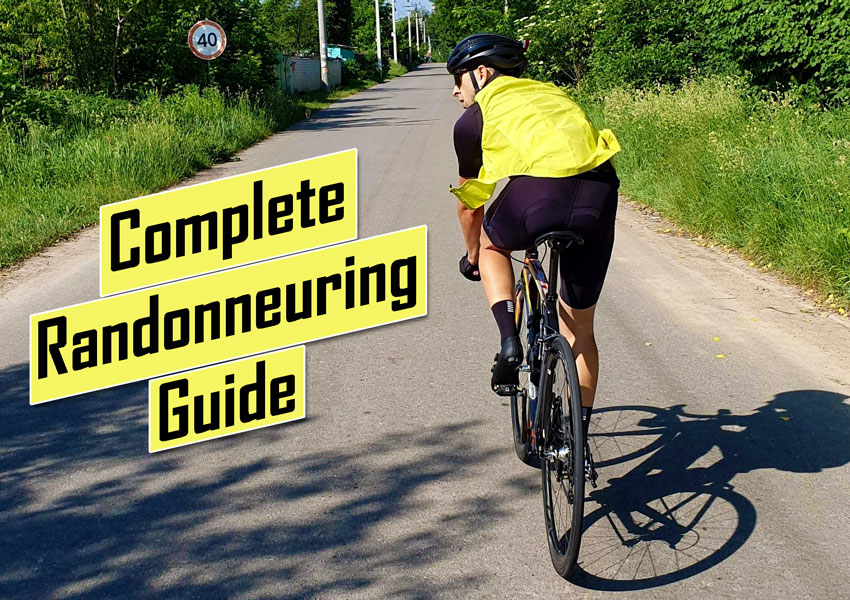
What Is Randonneuring and Why Do People Do It?
Randonée, Brevet, and Audax are the three names given to this type of ride. Traditionally, Audax events were ridden with others, while a Randonée was done alone or with others. However, today the three words are mostly interchangeable.
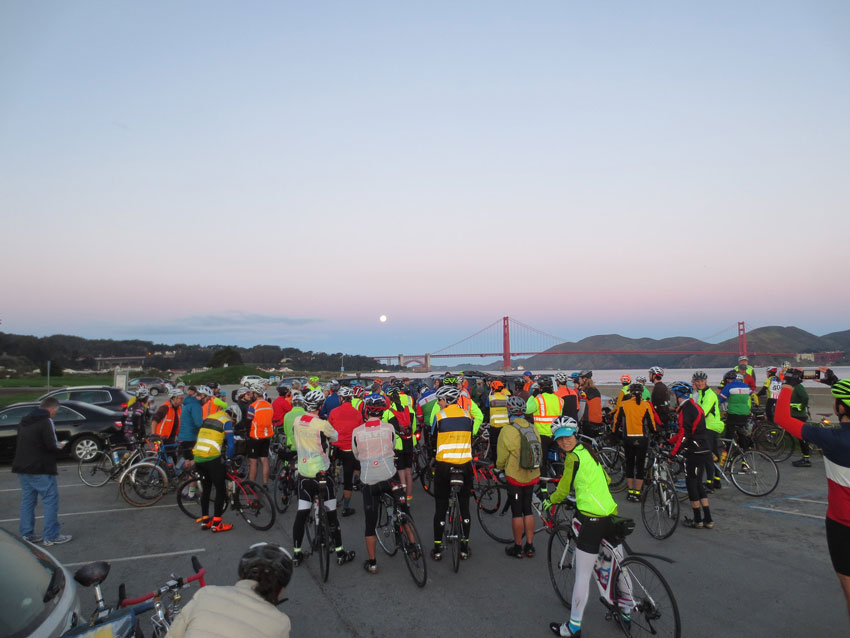
Riders assemble before an official brevet. | Image source: rusa.org/pages/RUSAphotos
For the individual, the motivation to do randonneuring is to push yourself beyond your previous limits. These rides provide a benchmark each time you do them, allowing you to compare your past performances and give yourself targets for next time.
Audax events are not races, but they do have set time limits. These cut-offs are at the route’s intermediate control points and the finish line. To ensure each rider reaches the checkpoints and does so within the time limit, organizers utilize ‘brevets des randonneurs’, which are brevet cards that get stamped at each control point.
A Randonée is a self-sufficient event with no mechanical aid, meaning you need to know basic bike repairs and roadside maintenance.
What Is a Brevet Card?
The brevet (‘certificate’ in French) is the card carried by each randonneur that acts as proof of passage through set points on the route. It gets signed or stamped with the time and date you arrive at each control point, so the organizers know if you’ve completed it honestly.
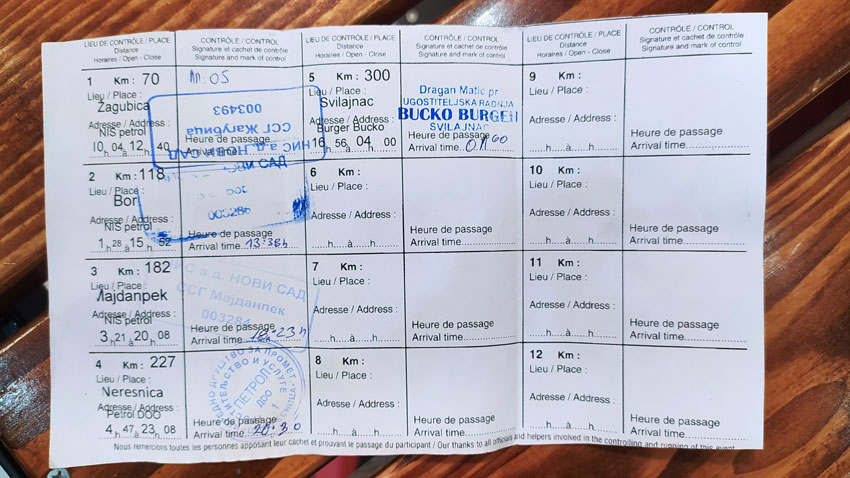
Brevet cards contain information about mandatory checkpoints, which is where riders are required to obtain a stamp within the allocated time limit.
In some cases, instead of getting a stamp on your brevet card, you may be required to provide a photo of a certain landmark or a fiscal receipt from a specific shop at the end of your ride in order to prove that you passed through the predetermined checkpoint and reached it within the time limit.
History of Randonneuring and Paris-Brest-Paris
The history of these events dates back to 1891 with the first iteration of Paris-Brest-Paris (PBP). This was a few years before the rules were conceived or an official name assigned. PBP is a 745-mile (1200km) self-supported ride from Paris to Brest and back that gathers more than 6000 riders every four years.
In 1897, the concept of Audax, ‘audacious’ in Latin, was invented in Italy, where Italian riders attempted to cycle from Rome to Naples (140 miles) during daylight. Between this date and the early 1900s, the events became popular across France, Italy, and surrounding countries, until in 1904, Henri Desgrange of the French newspaper L’Auto, published the first ruleset for the events.
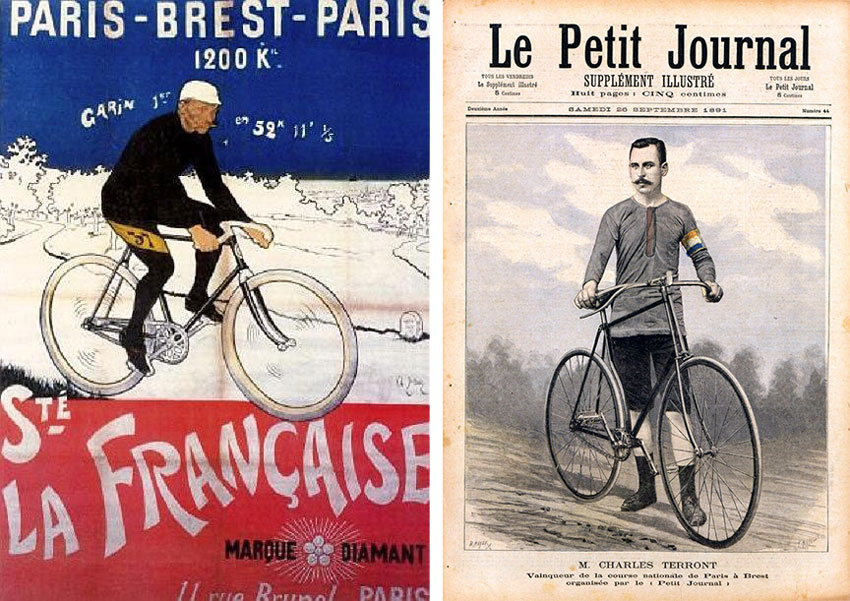
Early Audax events were ridden as a group and consisted of professionals and amateurs. In 1920, Audax Club Parisienne (ACP) was formed by a group of successful Audax riders and began to organize events. However, a disagreement between ACP and Henri Desgrange over rules led to the ACP creating a self-paced style of Audax called Allure Libre, now known as randonneuring.
In 1951, with the growing popularity of the Tour de France, the professional element of the PBP was lost. Then, in 1975, Audax Club Parisienne set the rules for qualification into PBP, requiring completion of a 600km event in 40 hours.
Today, you must be a ‘Super Randonneur’ to qualify for the event, which is a rider who has completed a 200, 300, 400, and 600km brevet within a calendar year.
How Are Randonneuring Routes Determined?
Avid riders, local clubs and cycling bodies in the area typically design randonneuring routes. They’re designed to showcase the best of a region’s landscape. In addition, the courses are planned along safer roads and will have plenty of places to stop off, such as coffee shops and landmarks.
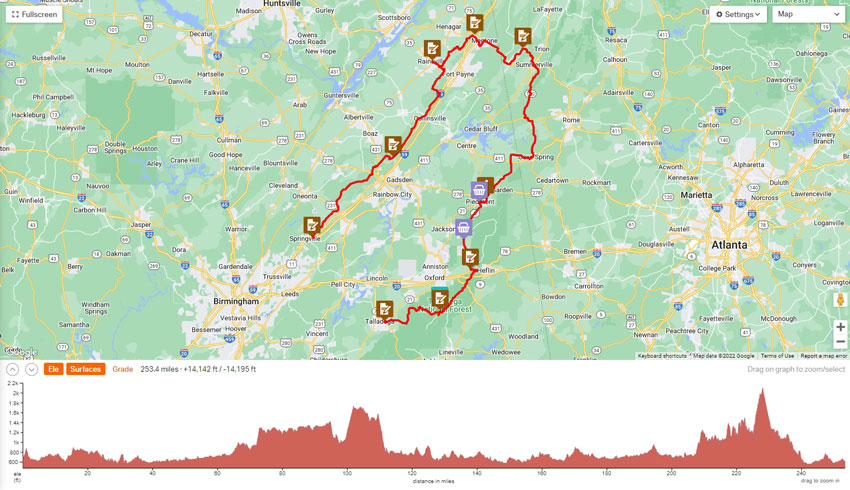
An example of a 400km route created in RideWithGPS for an event in St. Clair County, AL, with information about the mandatory checkpoints.
A randonneur route is usually more challenging than your average Sunday coffee ride, sometimes with extra elevation gain to challenge riders further. Organizers, such as Randonneuring USA, choose between various route designs.
- Out and back routes
- Loops
- Point-to-point routes
- Lollipop or figure 8
What is a Super Randonneur?
The Audax Club Parisienne, which is the official organizer of PBP, issues the Super Randonneur Award. To become one and qualify for the PBP race, you must complete a 200, 300, 400, and 600km event within a calendar year, each with its specified time limit.
The modern standardized Audax distances and time cut-offs are the following:
- 125mi/200km – 13:30hrs
- 187mi/300km – 20hrs
- 250mi/400km – 27hrs
- 375mi/600km – 40hrs
- 620mi/1,000km – 75hrs
- 750mi/1,200km – 90hrs
- 870mi/1,400km – 116h, 40min
- 1,400mi/2,200km – 220hrs
Types of Randonneuring Events
There are four main types of Randonées, the most common of which are calendar events. These take place on a specific date and time each year. Each participant will arrive at the start point and complete the race within the allotted time.
Permanent events are a separate category. You can do these whenever you want, with the routes available on the organizer’s website. Purchase the official brevet card and send it to be verified upon completion.
You can also try personalized Randonnées by building your own route, buying a brevet, and submitting it to a regulatory body for approval.
Finally, extended calendar events are typical calendar events that you add miles to (in 100km increments) to turn them into one of your qualifying rides for PBP, for example.
The Gear You Need for a Randonneuring Event
The variety of distances, locations, dates, and difficulties of these events means that the equipment and clothing you bring will vary significantly from race to race.
High-Visibility Clothing
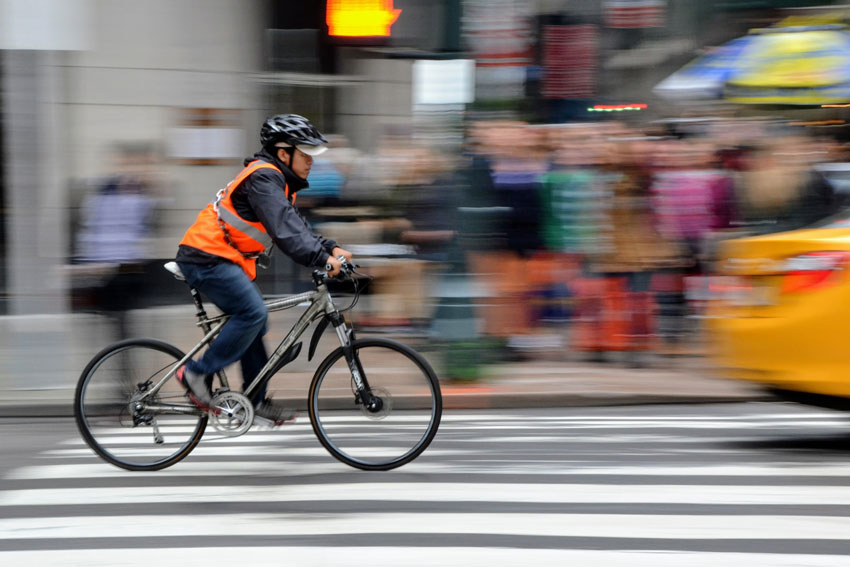
All riders are required to wear high visibility vests and have functioning lights when riding at dusk, dawn, and during nighttime.
The only extra clothing strictly necessary for most brevets is visibility clothing, like a high-vis reflective jacket. It’s usually required to wear reflective gear at night, dawn, dusk, and whenever visibility is low.
No posts for this criteria.The most important piece of kit for a long-distance ride is high-quality bibs. Premium bibs have better chamois (the padded part), which reduces pressure on sensitive areas of your undercarriage, keeping you pain-free for longer.
Depending on the length of the event, time of year, terrain, and weather forecast, you can choose the clothing you will wear at the start line and the extras you want to bring. For example, to survive a summer event, you’ll need light, breathable clothing with a lightweight rain jacket in case of showers and possibly a long-sleeve jersey for riding at night.
Finally, comfortable and well-fit bike shoes (mountain or road bike) are worth considering for improved efficiency over long distances.
Accessories and Tools
Many randonneurs use a handlebar bag, large seatpost bag, or frame bags to carry extra tools and food. Any of these would be an ideal randonneur bag.
Having at least two bottle cages and using large 24oz bottles to maximize your water carrying capacity is worthwhile.
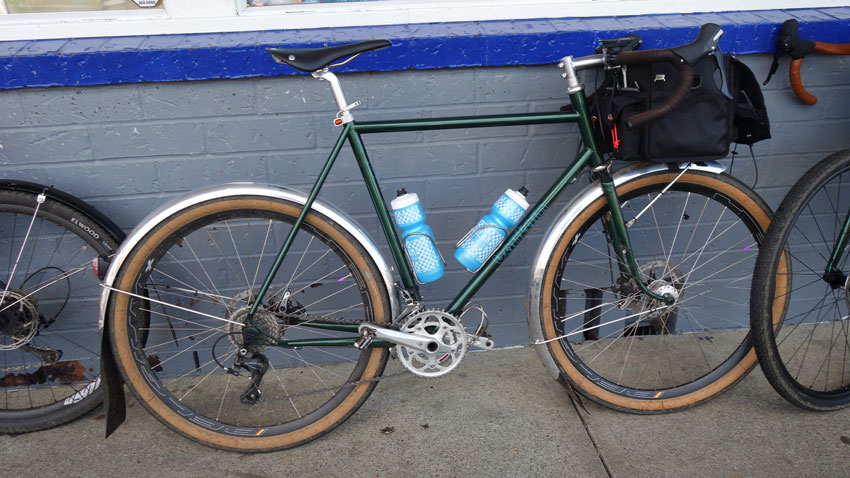
A typical randonneuring bike with a handlebar bag, dynamo lights, and two large water bottles. | Image source: rusa.org/pages/RUSAphotos
Each rider should have bright bike lights on the front and rear. These can be battery-powered, rechargeable, or dynamo-powered as long as they last the duration of the ride.
Again, riders must be mechanically self-sufficient, so it’s essential to know how to do basic bike repairs like fixing punctures, a broken chain, and broken spokes. However, you can mitigate these issues by choosing more durable components.
Bring spare tubes, tire levers, and a hand pump to change flats. In addition, take along a multitool with a chain tool and spoke wrench, extra chain links, and a spare spoke or two for repairing spokes and chains. A derailleur hanger is valuable as well, just in case.
For a long-distance event like a Randonnée, it’s vital to have the following essentials:
- Cash or credit card
- Cellphone (and a power bank if needed for GPS)
- GPS computer
- Sunscreen
Which Bikes Are Best for Randonneuring?
Randonneuring is a non-competitive way of riding, meaning there are no rules or regulations for a specific randonneur bike or components.
Given that, randonneurs use all types of bicycles, such as gravel, hybrid, endurance road, cyclocross, recumbent, and touring bikes. Each bike has its pros and cons, so it’s important to choose based on the characteristics that are important to you.
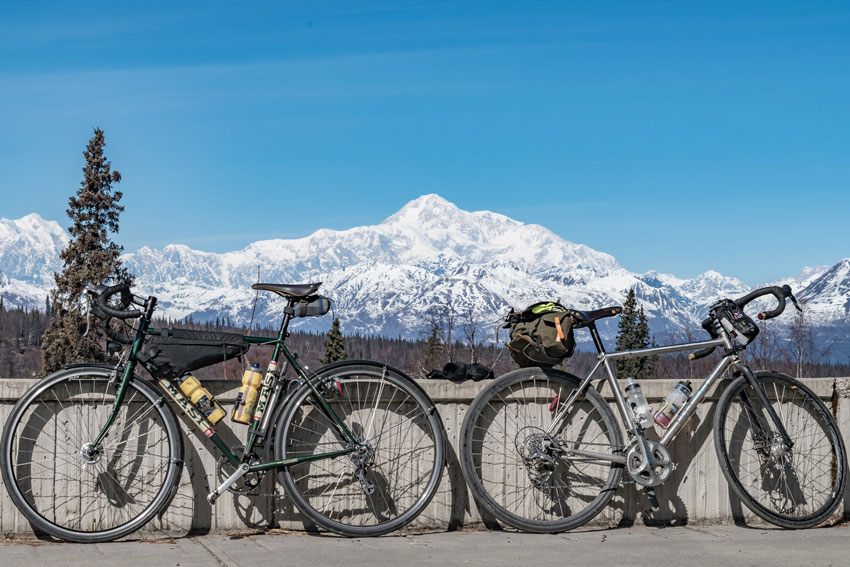
Randonneuring bikes have a relaxed geometry and the ability to carry all the necessary gear. | Image source: rusa.org/pages/RUSAphotos
The best randonneur bike is a bike that fits your anatomy and flexibility. A good fit will ensure comfort and efficiency, making the ride less physically and mentally challenging. You should also try to get a bike with a more upright (endurance) geometry which will put less strain on your back, neck, shoulders, and wrists on long rides.
In addition to that, for very long events, we’d recommend choosing a tire with puncture protection and higher-spoke wheels. Likewise, when poor conditions are expected on the route, you can select wider, treaded tires to enhance traction. There are even specific tires developed to handle the demands of randonneuring, like the Vittoria Randonneur.
In any Brevet, you can see bikes of all ages and styles, so don’t worry too much about having the most advanced and specialized one.
Bikes we recommend for randonneuring:
- Best Endurance Road Bike Selection
- The 10 Best Gravel Bikes
- Best Touring Bikes
- Best Bikepacking Bikes: Top 14 Models We Recommend
- Best Hybrid Bikes for the Money
Training and Preparation for a Brevet
The training and preparation for a Randonnée will differ significantly based on the length of the event. However, there are some things you should do regardless of the distance.
Bike Fit
When you start putting in big miles on the bike, problems to do with fitting can quickly arise. Minor alignment and fitting issues can lead to repetitive strain injuries, most commonly cycling-induced knee pain as well as lower back pain.
We recommend taking your bike to a professional fitter, who will adjust components like the handlebars, stem, saddle, seatpost, cranks, and cleats to find the perfect fit. But at least do a quick bike fit at home before heading for a long ride.
Being set up in an anatomically correct position also improves your pedaling efficiency, maximum power, and comfort, leading to a faster and more enjoyable ride experience.
How to Train for a Randonée
The goal is to have ridden 2/3 to 3/4 of the event distance at least once before the big day. The key to training for a Brevet is spending as many hours on the bike as possible in order to avoid problems such as saddle sores on the day of the event.
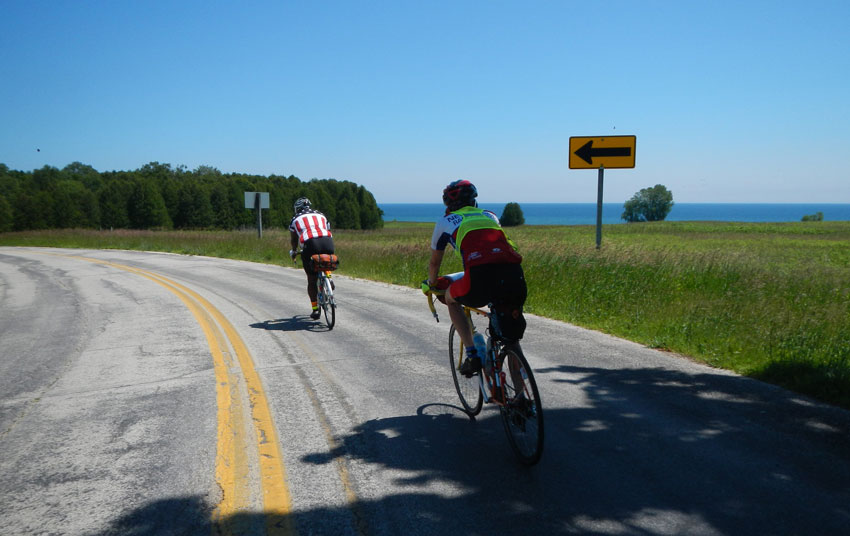
Image source: rusa.org/pages/RUSAphotos
As they are not races, the most important thing is to be able to ride the required distance at a reasonable pace. You can create a cycling training plan based on your current fitness, the event length, and the event date to help you achieve this. It will also help to progressively build your training load by roughly 15% per week.
By progressing your training appropriately, you can avoid the overtraining and injuries caused by ramping up too quickly. Injuries often occur when your joints and muscles haven’t yet adapted to the training load.
If you’re new to randonneuring, start training as far out from the event as possible. Doing so will allow you to build a solid fitness base. To avoid losing fitness in the months leading up, don’t go more than a week without riding.
Sleep, Recovery, and Nutrition
Getting enough high-quality sleep is essential to recover and progress your fitness. During sleep, our bodies adapt to that day’s training, repairing and strengthening the tissues we’ve utilized.
Eat plenty of nutritious food to replace the calories you’ve expended during training and promote recovery. Balance your meals with fat, protein, and carbohydrates.
Finally, many hours on the bike combined with sitting for work will lead to stiffness. Practicing cycling recovery techniques can improve your mobility, cycling performance and reduce injury risk.
Preparation
Preparing for the event over the week leading up will reduce the chance of disaster striking when you’re 50 miles from the start line without suncream or with a squeaky chain beginning to develop.
We recommend thoroughly cleaning your bike and lubing the chain and drivetrain the week of the event. In addition, it would be wise to take it to your local bike shop to ensure everything is in working order. If you’ve been waiting to replace your brake pads or tires, now is the time to do it.
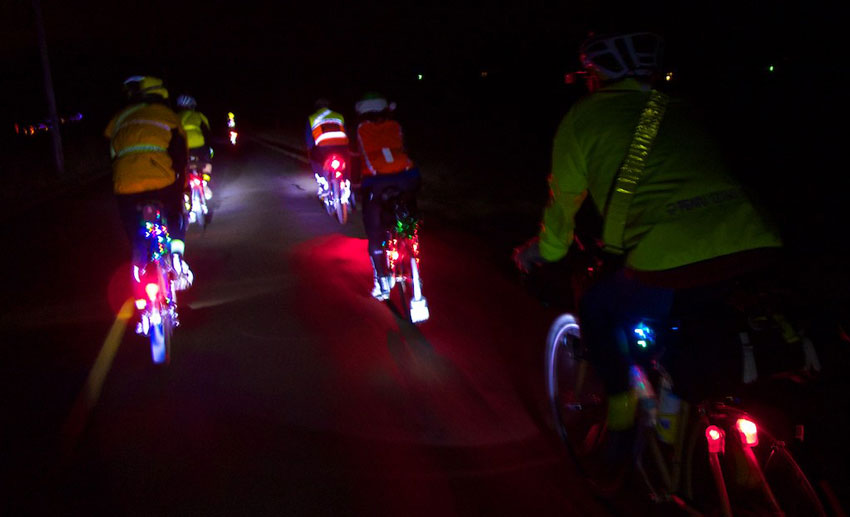
Longer randonneuring events include riding at night, so it’s important to have functioning lights and be familiar with riding in pitch black conditions. | Image source: rusa.org/pages/RUSAphotos
Another important thing to do is to ensure you have enough kit in your cycling wardrobe to cover the range of weather possibilities on the day of the event. For example, you don’t want to realize that you don’t have cold-weather gloves or a rain jacket the night before when you check the forecast.
The night before the event, check the weather forecast and prepare your gear, food, hydration, and randonneur bag. Then, double-check the route, programming it into your GPS if you will be riding alone.
Finally, right before the ride start, apply chamois cream to prevent saddle sores that can be caused by friction and chafing on long rides.
The Day(s) of the Randonneuring Event
The day of a group event is always a fun and exciting atmosphere, especially if you’ve prepared well. However, it’s important not to get carried away with the excitement and forget to pay attention to your nutrition and hydration throughout the event.
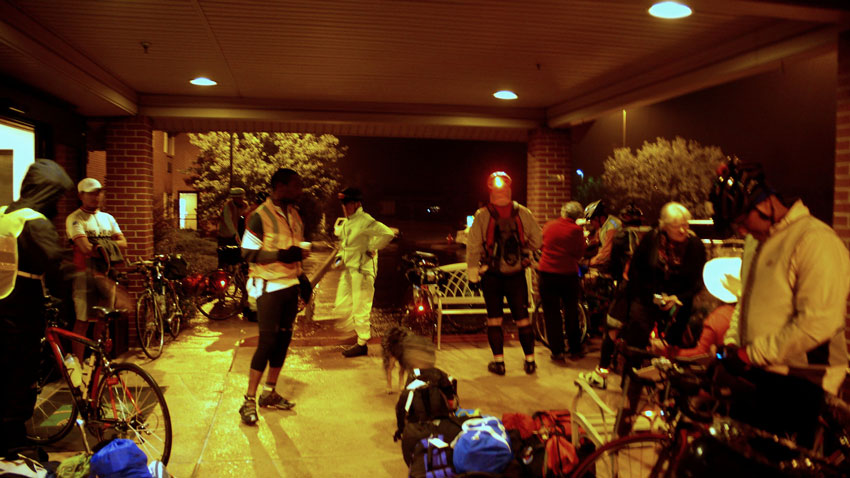
Image source: rusa.org/pages/RUSAphotos
Remember, it’s not a race, so being efficient with your time is more important than pure speed. During day-long events, limit most of your stops to 10 minutes or less to save time and avoid cramping when you restart. In addition, practice eating and drinking while riding to avoid unnecessary stops.
It’s also crucial to go at your own pace. Don’t try to keep up with other riders and burn yourself out too early. You should be familiar with the average cycling speed, heart rate, or power you can sustain for the duration of the event.
When riding, change position as frequently as possible to avoid discomfort in the wrists and backside. Drop handlebars are ideal for this as you have more hand positions available. Additionally, try riding out of the saddle for a few seconds every five to ten minutes to relieve pressure and let the blood flow back.
Nutrition and Hydration
There are a few rules of thumb for riding long distances. These will help you stay hydrated and avoid running out of energy (bonking).
- Eat something small roughly every 45 minutes. Doing so will allow your body to digest and utilize the energy while riding. Use a mix of real food like fruits and sandwiches, as well as sports nutrition like gels, bars, and energy drinks.
- Drink roughly 20oz of water per hour in normal conditions. Sip little and often to stay hydrated. If you’re riding in hot or humid weather or are exerting yourself more, increase your intake.
- Add electrolyte replacements to your water after the first hour or two. Taking in plain water alone will not hydrate you. You must replace lost electrolytes to be hydrated, or you will begin cramping. Sports drinks such as Gatorade can help you replenish your electrolytes.


