Mountain Biking for Beginners — 19 Tips to Improve Your Skills
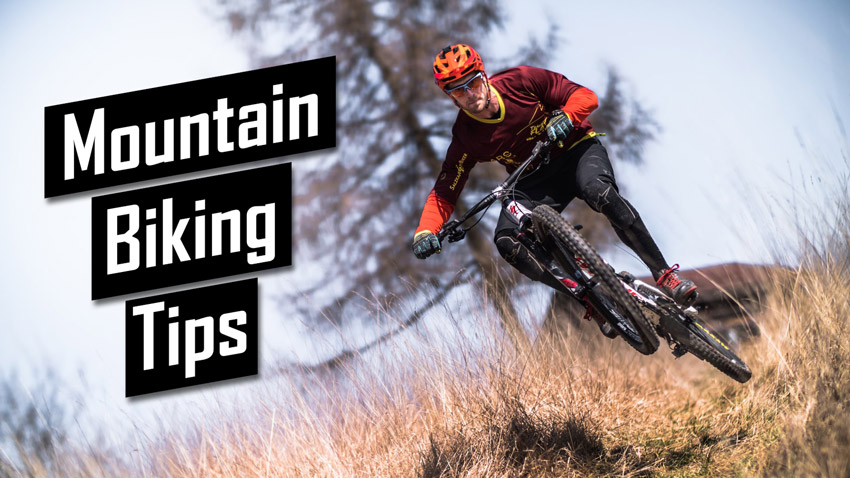
Learning to mountain bike is a fun and challenging process that never truly ends, but the learning process is smoother if you learn from the experienced riders that have gone before you.
Our beginner tips for mountain biking include advice on setting up your bike, the gear you need, bike skills and techniques, nutrition, hydration, recovery protocols, and training.
This article is a short guide to mountain biking for beginners, offering 19 pieces of advice on what to do and avoid when you begin your mountain biking journey.
Bike Setup
Correctly setting up your bike ensures your rides are as comfortable, safe, and fun as possible right from the beginning. On the other hand, a poorly adjusted bike can make it difficult to control your bike and lead to unnecessary accidents or injuries.
The ideal scenario is to get a bike fit by a professional; otherwise, you can make rough adjustments at home.
1. Choosing the Correct Mountain Bike
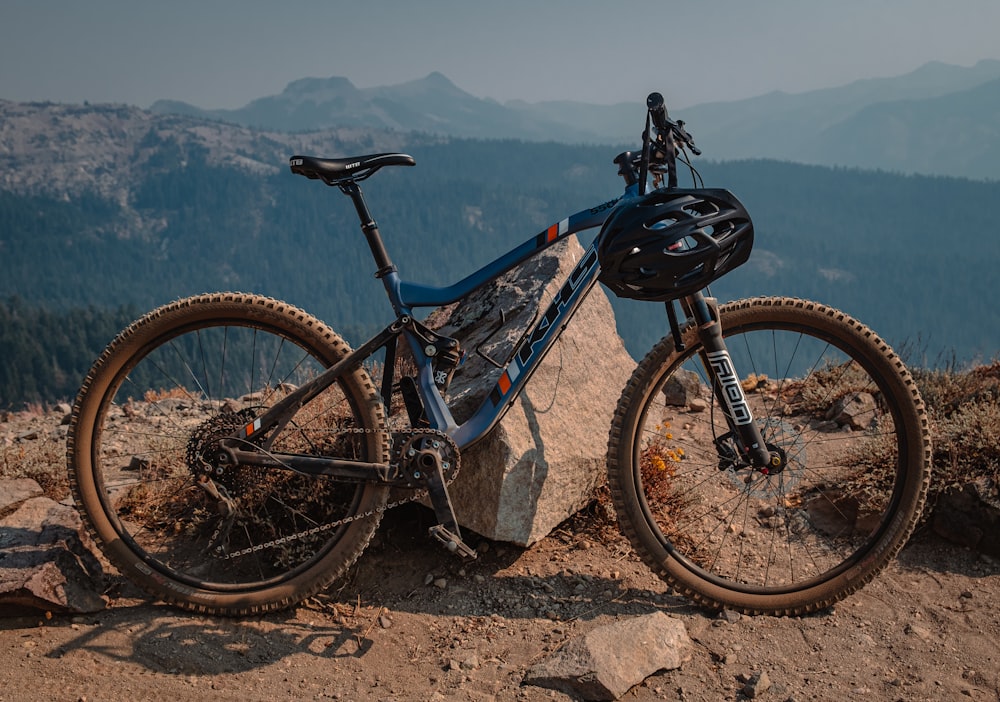
Full suspension mountain bikes provide more control, but hardtails are less forgiving and offer more opportunities to learn.
The type of trails you plan on riding will typically determine if you choose a hardtail or a full-suspension bike.
Many experienced mountain bikers recommend learning how to ride on hardtail bikes (front suspension only). Learning this way will improve your bike handling as they are less forgiving on the trail, meaning you must concentrate more and execute sound technique to avoid accidents.
On the other hand, full-suspension bikes make it easier when you’re a beginner as they provide more control and comfort and are forgiving when you make minor errors.
2. Saddle Height
Adjusting the height of your saddle is the first and most crucial step in setting up a bike. You should be able to complete a full stroke with a slight bend in your leg at the six o’clock position, never reaching at the bottom. To find an approximate measurement:
- Rest your bike up straight against a wall
- Stand beside the saddle and set it at hip height initially
- Place the outside pedal at 6 o’clock
- Place your heel on that pedal and adjust saddle height until you can lock your leg out straight
3. Brake Lever Position
Adjusting your brake levers is important so that they’re easy to pull no matter where you are positioned on the bike and without awkwardly bending at the wrists or elbows to reach them.
Loosen the bolt slightly, allowing the levers to swivel freely on the handlebars. Then, sitting on the bike, choose a comfortable and relaxed position that is easy to reach with one or two fingers and retighten.
4. Check Tire Pressure

Make sure that the air pressure in your tires is optimal before every ride to get the best performance out of your bike.
Choosing and maintaining an appropriate tire pressure on your mountain bike will ensure optimal traction and help you avoid unnecessary pinch punctures.
Check your tire pressure before every ride to ensure proper traction and control when riding the trails.
Most manufacturers list the tire pressure range on the tire sidewall, so it’s best to stay in that range. However, many factors influence the pressure you choose, including the weather conditions, type of trail and surfaces, rider weight, cargo, and whether you’re using tubeless tires or not.
Choosing a pressure between 20 and 28psi is a good starting point for new mountain bikers. The rear tire carries more weight, so it should always have slightly more pressure (2-3psi) than the front.
5. Calibrating Suspension
Suspension calibration is another highly individual setting. Hardtail bikes are simple as just the fork needs calibration. In contrast, full-suspension bikes require more work as you must set and balance both suspension components.
Follow the manufacturer’s guidelines and adjust the air pressure and sag based on their recommendations for your weight. Then, you can modify it further according to your preferences and riding style.
Bike Skills
There are various mountain biking skills for beginners to practice and hone over the first weeks and months. Many of these skills will become second nature over time, but you will continue practicing and mastering others as long as you ride.
6. Neutral Stance and Weight Shifting
Understanding when to move and where to position your body weight in relation to the bike is fundamental to maintaining control and staying safe. Practice the following techniques on a flat, open area before hitting the trail.
Assume the neutral/attack stance by standing tall with your feet level on the pedals with a slight bend at the knees, head up, chest up, and elbows slightly out. This position allows you to shift your weight very quickly.
Learning how to properly shift weight forward and backward on the bike is one of the most important mountain biking skills to master.
The next step is to practice moving your weight back and forward on the bike. When moving your weight forward, keep your shoulders behind the handlebars; when practicing moving backward, try to develop an awareness of where your body is in relation to the rear tire so you don’t hit it when you shift your weight back on the trail.
Finally, understand that your hips are your center of gravity, and try to balance your weight by keeping them around the bike’s center point. Thus, shift forward on the saddle and drop your chest slightly to balance the weight when climbing steep gradients, and shift your hips back over the saddle when descending.
7. Look Where You Want to Go
One of the most important things to practice and master is looking ahead on the trail instead of focusing directly in front.
By looking at an obstacle as you approach it, you increase the chance of hitting it. Instead, keep your eyes on the trail, as far ahead as you can see clearly, and hold your chin level to the ground.
Focus where you want to go and pick your line in advance. Using your peripheral vision, you can avoid anything immediately ahead of you.
8. Picking a Line and Maintaining Momentum
You’ll want to pick the smoothest line possible through a trail, avoiding the large rocks and roots to maintain as much momentum as possible.
Avoid knocking off too much speed by overusing the brakes, as you’ll put yourself in a more unstable situation. Maintaining a decent level of speed through a trail actually makes it safer, as it is easier to maintain balance as you roll over obstacles.
This skill takes a lot of practice and feels counterintuitive, so try to ignore your initial instincts and ensure your center of gravity is in the right place.
9. Learn Proper Cornering Technique
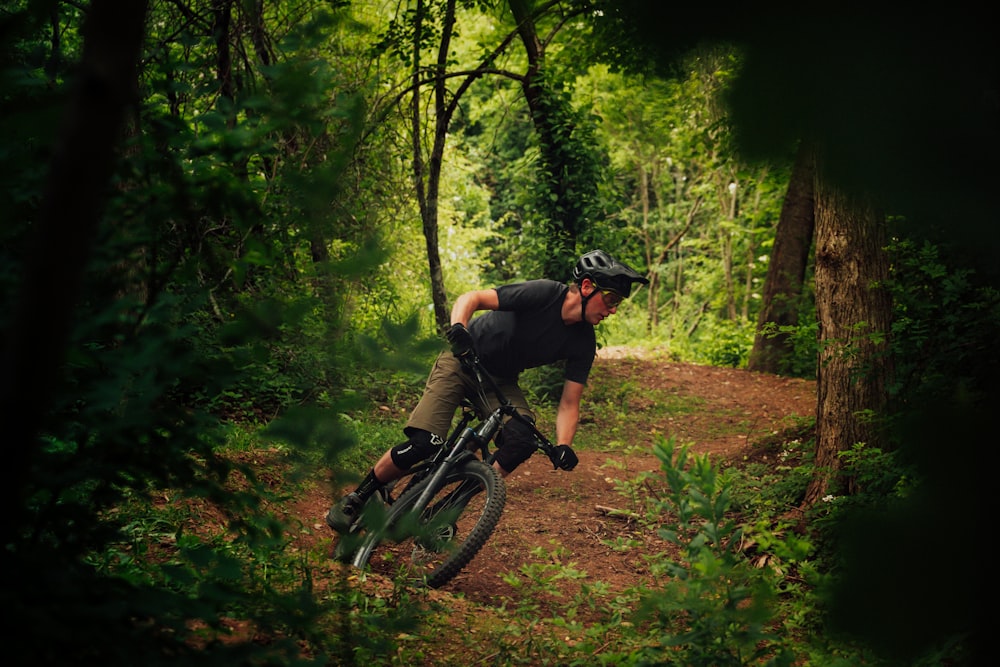
Learning how to corner properly is a big milestone for any beginner mountain biker.
Cornering is another skill that takes years of practice to master, but there are some things you can do to get a head start. Firstly, it’s essential to brake before the corner, not in the corner, as you’re more likely to lose traction if you brake in the corner.
When taking a corner, drop your outside foot to the six o’clock position, simultaneously lifting the foot on the inside of the turn to the twelve o’clock position to get it out of the way of any obstacles.
At the same time, orient your hips and shoulders in the direction you’re going and lean into the corner. Doing this drops your center of gravity, giving you better balance and grip.
10. Try Clearing Some Small Jumps
When you build up the confidence and ability to do your first jumps, start small and work your way up to bigger ones as you practice.
It’s essential to keep your heels down (don’t point your toes) as this minor adjustment will help keep your feet in contact with the pedals throughout the jump and landing and help you maintain balance.
11. Maintain a Smooth Cadence
Another riding skill that applies across disciplines is maintaining a consistent, high cadence. Higher cadence helps your keep momentum, and consistency is better for maintaining traction. You’ll need to scan the trail ahead and switch gears regularly in anticipation of the upcoming gradient. In addition, avoid unnecessary braking.
However, using a lower cadence (a higher gear) through a bumpy technical section will help you avoid pedal strikes.
12. Master the Braking Technique
Mastering your brakes takes time and practice on a new bike, but you can implement these practices to get ahead of the game.
- Avoid braking in the corners, but only use the rear one if you need to brake while taking a corner.
- The front brake is best on flat terrain; favor the rear brake on steep terrain.
- Modern brakes make it possible to use just one or two fingers to modulate the brakes, allowing a better grip on the handlebars.
- Move your weight back when you’re braking hard by dropping your heels and shifting your butt backward over the saddle.
13. Avoid Stiffening Up
Staying loose and avoiding stiffening up is easier said than done, but doing so is essential for staying safe when mountain biking. In addition, if you maintain a steady breathing pattern and avoid holding your breath, it’s easier to stay relaxed.
Keep your arms, shoulders, and knees loose and springy, as the bumpier a trail gets, the looser you need to be.
This approach allows the bike to move freely and comply with the trail so you can maintain traction and control.
Clothing and Accessories
14. Mountain Biking Gear

Wearing full protective gear will not only save you from injuries but also help you ride with more confidence and develop better skills.
Mountain biking for beginners is made safer and more comfortable with the correct gear and equipment to facilitate your rides.
- First and foremost, a bike helmet is the most important piece of kit for any bike ride, don’t ride without one. In addition, for better protection and coverage of your head, you can choose a mountain bike-specific helmet.
- Flat, grippy shoes with thick soles (like MTB-specific shoes) work best with flat MTB pedals by minimizing how often your feet slip off.
- Knee and elbow pads are another essential piece of kit for beginners as they significantly reduce injury from minor falls and spills that are common when you start.
- Choose the best mountain biking shorts that give you freedom of movement when riding and can be paired with cycling bib shorts underneath to pad your undercarriage from the hard seat.
- Choose light, breathable upper body wear that isn’t too baggy as this can cause the handlebars to snag.
- Wear full-finger mountain bike gloves at all times to protect your hands from branches and in case of a fall.
Training
It’s important to train smart to avoid injuries and unnecessary mishaps. Therefore, mountain biking tips for beginners wouldn’t be complete without some training advice.
15. Base Fitness
Build a base level of strength and endurance to handle a long day on the trails by starting short and light and increasing the time you spend riding by 10-20% per week, depending on how your body feels.
In addition, you can add endurance strength training to your exercise routine to supplement your cycling workouts.
16. Route Selection
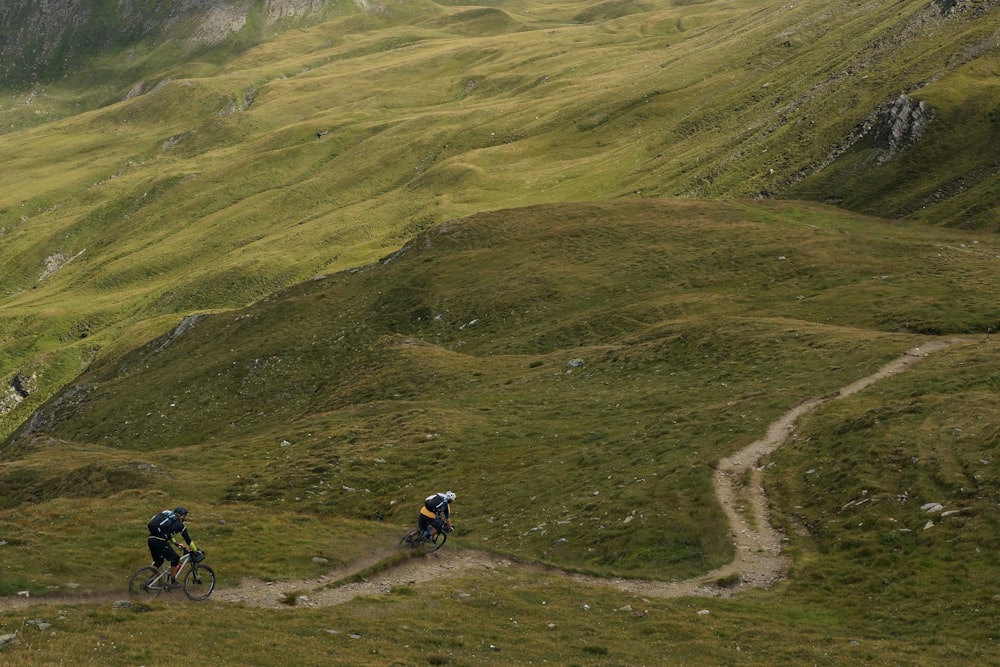
Make sure that the route you choose as a beginner reflects your current skills but also challenges them slightly.
Beginner mountain bikers should choose smoother and flatter routes (green/blue) when visiting a bike park. Alternatively, pump tracks are a great place to improve your skills, as most courses are predictable, smooth, and easy enough for beginners to practice techniques safely. What is a pump track, you might be wondering? Read our guide to find out.
17. Train With More Experienced Riders
Riding with more experienced mountain bikers is an excellent way to improve quickly. For example, you can learn by watching how these riders take corners and jumps and when they choose to maintain momentum or brake.
However, make sure to always obey mountain biking etiquette when riding with others in order to stay safe and be courteous.
Nutrition, Hydration, and Recovery
The final few mountain biking tips for beginners concern what to eat and drink while riding and how to recover after riding.
18. Fuel and Hydrate
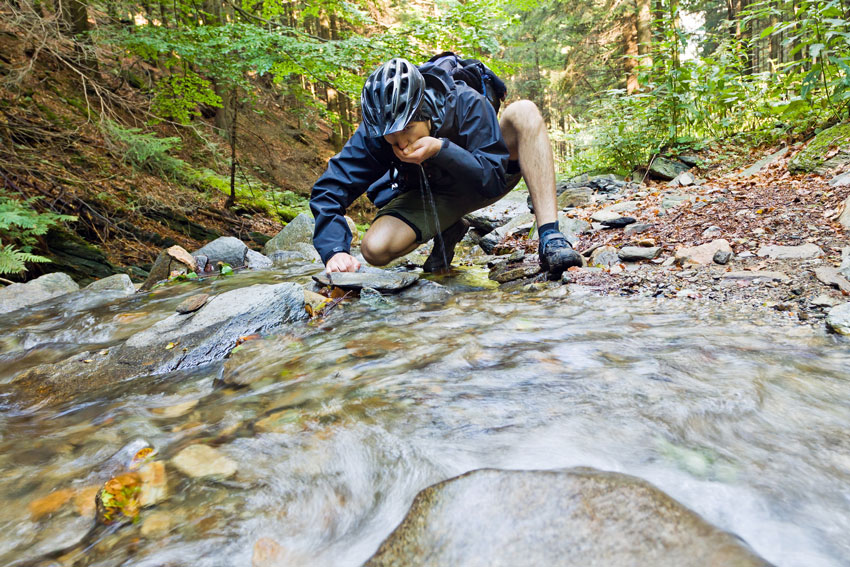
Cycling nutrition is easy to get wrong, and failing to eat or drink enough can lead to mistakes or having to climb off the bike earlier than you wanted.
Food and hydration demands fluctuate hugely based on rider weight, the ambient temperature and humidity, the difficulty of the trails, and how hard you ride them.
A rule of thumb to follow is to drink one bottle of water per hour of riding and add some electrolytes for rides longer than two hours. Likewise, try to eat something every hour for rides over 90 minutes. Options may include bananas, sandwiches, or oat cookies. Gels and energy drinks aren’t necessary for non-competitive riders.
19. Recover
Sleep and rest are the fundamental components of recovery and injury prevention. So ensure you get enough before getting back on the bike.
Choosing the right foods and rehydrating post-ride is as important as what you consume before and during it. Eat high-quality proteins, carbohydrates, fats, and plenty of fruit and vegetables to boost recovery after riding.
Finally, introducing stretching and mobility exercises or massage into your routine can improve how your muscles and joints recover.
People Also Ask
Is mountain biking hard for beginners?
How should a beginner start mountain biking?
How do I get better at mountain biking?
How difficult is mountain biking?
What should you not do on a mountain bike?
- Riding too much too soon
- Taking on difficult trails before you’re ready
- Stopping in the middle of the trail
- Riding without a helmet
- Using the brakes too much
- Skidding too much


