How to Complete Your First Century Ride — Crucial Tips for Beginners
The question “what is a century ride?” is commonly asked by new cyclists. A century ride is a 100-mile bike ride (161km). A metric century bike ride is one hundred kilometers (62 miles). We will refer to a century as the 100-mile version for this article.
Completing a century ride is an impressive achievement for any casual cyclist and requires dedicated training and careful planning to ensure everything goes smoothly. To help you finish your first century, we’ve put together this short guide on how to prepare for and execute on the big day.
- You may also like: A Complete Guide to Randonneuring
How to Train for a Century Ride
Ride Your Bike
The most important part of training for century bike rides is simply to ride your bike as frequently as possible in the weeks leading up to your chosen day or the event. No amount of planning or special gear will replace a good training strategy, so aim for three training sessions each week.
It’s best to start training as early as possible. However, give yourself six to ten weeks at a minimum, depending on your baseline fitness. This duration will allow you to add miles to your routine progressively, so you’re prepared for the big day. The target is to be comfortable with riding 75 miles one week before your big ride.
Listen to your body
It’s essential to listen to your body when training for any sport. Ensure you get enough sleep, recovery, and good nutrition. If you have any persistent pain, such as knee pain, from riding or begin to develop an injury unrelated to your bike fit, reduce your training load and consult a physical therapist.
Mix Your Training Rides and Progressive Training Load
In the ideal century ride training plan, you would complete different style training sessions each week. However, the most important ones are your long-distance rides, in which you have a specific distance to cover each week on similar types of terrain to where you will ride the century.
Another excellent training method is to do short, high-intensity interval rides on your favorite local hill or with a stationary bike at home or in the gym. Besides that, spend as much time on the bike as possible, be it commuting, visiting friends, or grocery shopping, find the time to ride.
All training programs need to progress incrementally; if you add more than 15-20 percent to your training load from one week to the next, you can easily injure yourself. For example, if your typical weekend ride is 30 miles, begin training ten weeks before the chosen day, adding five miles each week for nine weeks (taper-off the final week).
Tapering
The last week of a training plan leading to an event is an opportunity to taper-off. At this stage, you’ve completed all of your training, and you’re ready to ride. Significantly reduce your mileage and intensity during this week by doing relaxed, short rides to maintain the fitness that you have developed.
What to Eat for Your First Century Bike Ride
It’s essential to appropriately fuel your rides before, during, and after to ensure you can do high-quality training for a century ride. We previously posted a more detailed guide on nutrition for cycling to help you reach your goals, but here are a few things to consider for the day of your century ride.
Before
The evening before riding a century, eat a regular dinner that you would have any other day. Don’t worry about “carb-loading”; this is unnecessary and could lead to poor sleep if you overeat.
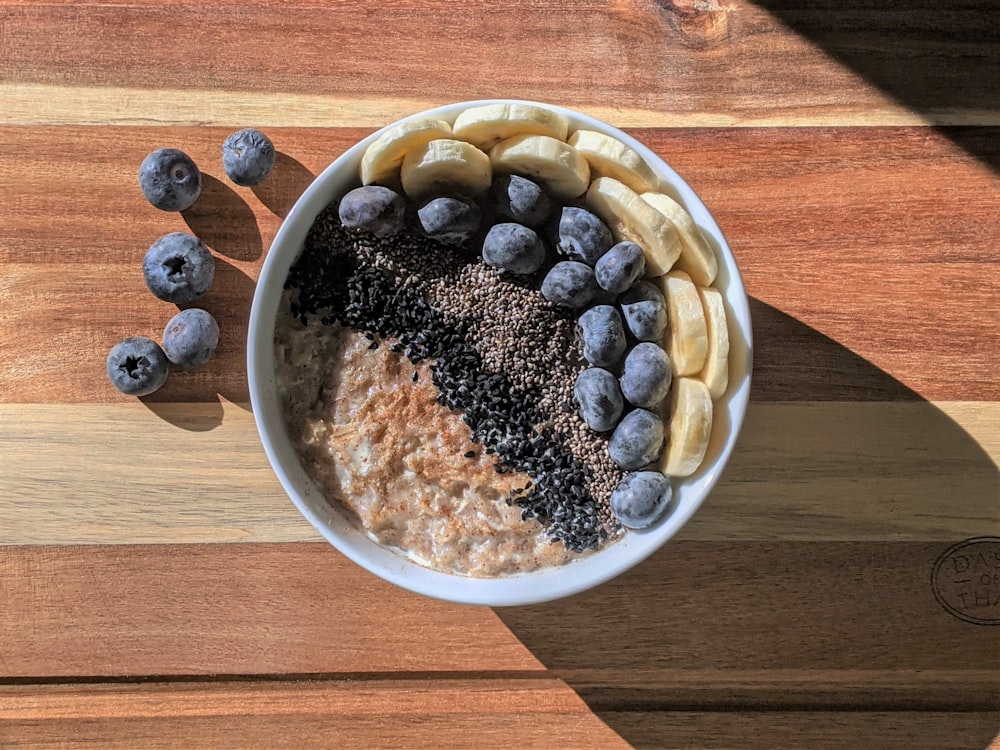
On the morning of the ride, eat a regular breakfast at least one or two hours before, so you have time to digest. Ideally, this should be a meal heavy in carbohydrates that will provide you with enough energy for the first hour of riding.
During
Getting enough nutrition during a century bike ride is vital. At 60-90 minutes into the ride, you should start to eat and continue eating at 30 to 45-minute intervals.
Begin with solid foods such as your favorite sandwich (white bread), oat bars/cookies, bananas, or whatever you are accustomed to from your training. Then, at roughly halfway, begin switching to fast-digesting sports nutrition like energy bars, gels, and electrolyte sports drinks.
Don’t eat or drink anything that you haven’t tried previously, as you may end up with an upset stomach. This is not a good time to experiment with new foods.
Bike Fitting and Check-Up
A professional bike fitting is something all riders should consider, particularly if your total weekly training exceeds 70-80 miles. Any slight positioning errors may result in repetitive strain injuries in a specific area, most commonly the knees or lower back.
Additionally, you can significantly improve your power output and cycling performance with a good bike fit that you can do yourself. For example, riding with an incorrect seat height could cost you watts or lead to injuries or discomfort, such as saddle sores. That said, if you’re comfortable on your bike and you don’t have any issues as your training increases, this isn’t necessary.
How to Adjust a Rear Derailleur for Crisp and Precise Shifting
A week or two before tackling your first century, take your bike into your local bike shop to ensure that everything is in working order, such as brakes, tires, and gears. If you are a confident home mechanic, you can do this basic maintenance yourself.
Planning a Route and Choosing Gear
Route Planning
Route choice for a century ride can make or break the experience. If you decide to go solo, pick a route that suits your fitness and ability. Remember, 100 miles of flat riding feels long enough; there is no need to add 7,000ft of elevation gain.
If you choose a group ride or amateur competition, the same advice applies. Pick a more leisurely route that you’re confident about finishing.
The Best Road, Gravel, and Mountain Biking Routes in the USA
Some other considerations include temperature, wind, and rain. Try to plan for a dry time of year when weather conditions aren’t too extreme. A chilly, rainy century is exponentially more challenging to complete.
Likewise, heavy winds can make a chosen route extremely demanding, so plan accordingly and don’t be afraid to put it off if the weather is poor on the day.
Choosing the Right Gear
The clothing you choose depends on the weather that day. Just ensure you have the appropriate clothes at hand for the range of possible conditions. For example, unless you’re riding in winter, you don’t need to worry about having a thermal jacket, but a rain cape or wind gilet may be helpful in the spring.
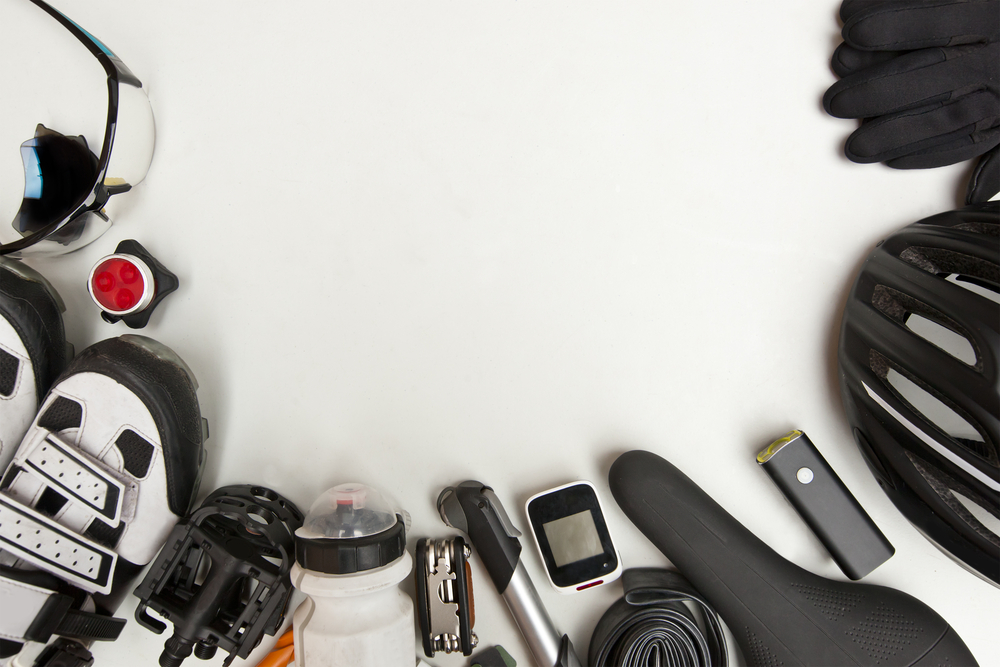
Ensure you have some high-quality bib shorts with a comfortable chamois and that you’re accustomed to your bike saddle. You can also use chamois cream to prevent chafing and friction. Either way, you’re likely to be tender the next day (or two). Additionally, comfortable bike shoes with properly adjusted cleats are essential.
Aside from clothing, don’t forget the essentials you should take on every ride, particularly multi-hour ones.
- Roadside repair and maintenance tools
- Cash or card
- Phone
- A GPS computer or other navigation
- Sunscreen
Ride Day Preparation
You can do a few things in the 24 hours leading up to the ride that will boost your chances of completing the century successfully.
- Sleep – Try to get a good night’s sleep (8 hours) before your century, as poor sleep negatively affects endurance.
- Eat – Enjoy a regular dinner the evening before/breakfast the day of your century. Don’t overeat.
- Pack your gear – Take your time to pack or set aside all of the clothing, food, bottles, and tools you need for the ride the night before so that you can relax that morning.
- Confirm route – Doublecheck and program the route into your phone’s GPS app or bike computer. Ensure you know where you will stop for water, food breaks, and nature breaks.
- Check the weather – Ensure the weather is appropriate the morning of the ride. Plan for wind and make any changes needed to your route or gear setup if necessary.
Completing the Century
Once your ride or event begins, it’s time to enjoy the day and get to the end with a smile on your face. At this point, you’ve done all the hard work and planning, but here are some final tips to help the ride go smoothly.
- Short breaks – If you’re stopping to eat, drink, refill bottles, or use the toilet, try to limit the time stopped to less than 15 minutes, this will help you avoid stiffening up once you start riding again.
- Go at your own pace – If you’re riding in a group, begin conservatively, don’t burn yourself out when you are fresh. Increase the speed based on how you feel once you complete the first 25 miles. If you’re riding alone, ride within your capabilities.
- Change position frequently – Use all of the positions available on your handlebars (the hoods, drops, and flats) to minimize discomfort in the wrists. In addition, ride standing up for a few seconds every 5-10 minutes to keep the blood flowing around your glutes and legs.
- Drink one bottle of water per hour – Take regular sips of water and increase your intake if riding in hot weather. Toward the end of the ride, add electrolyte powder to your water to replenish salts and energy.
- Eat every 45-60mins – Eat little and often to give your body and stomach the best chance of digesting the food to utilize the energy, saving the sports nutrition for later in the day. Also, try to eat when you’re riding on flat sections without a headwind.
- Finally, if it’s not on Strava, did it even happen? Decide for yourself.
In the end, bike riding is about enjoying nature and the outdoors, improving your health, and having fun. You’re not going to set any records for the fastest century bike ride, so just make sure you have fun!
Consider Also


