Basic Bike Maintenance for Beginner Cyclists: A Complete Guide to Keep Your Bike Running Smoothly
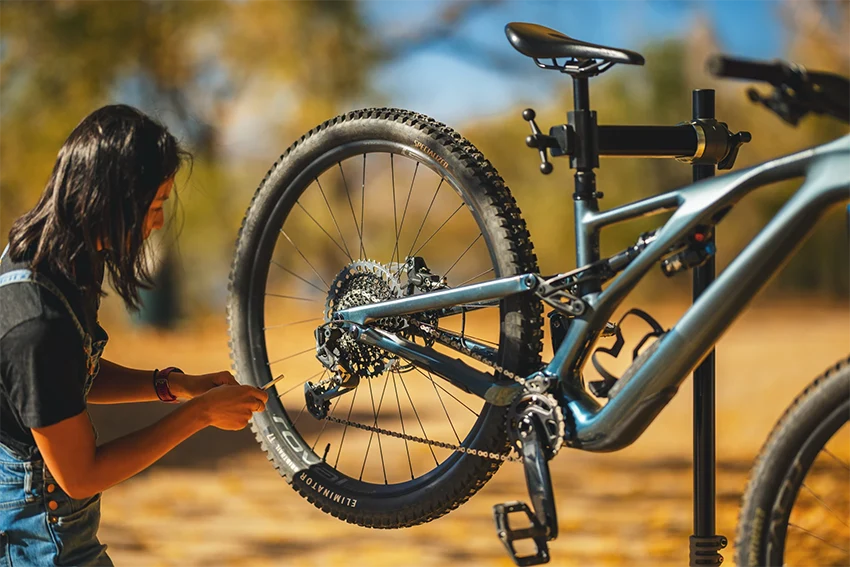
Image source: REI.com
If you want your bicycle to last as long as possible and run smoothly every time you go for a ride, you must perform basic maintenance regularly.
Poor maintenance leads to faster wear of many components, which can be costly to replace in the long run. For example, something as simple as a dirty, unlubricated chain can drastically reduce the miles you get from your entire drivetrain.
There is also a cost to riding efficiency. A poorly maintained system will require extra effort to get the same movement compared to a well-maintained one.
By following the tips provided below, you will limit the number of professional services needed, save time and money, and learn new valuable skills.
How often do you need to perform basic bike maintenance?
The frequency with which you need to perform basic bike maintenance depends on the following factors:
- Riding frequency and duration
- Weather conditions
- Trail or road conditions
- Quality level of components
What this means is that a bike that’s ridden more often, especially on rough roads and trails needs to be maintained more frequently. On top of that, lower-quality components require more frequent adjustments and replacements than higher-quality components — for example, mechanical disc brakes vs. hydraulic disc brakes.
Also, keep in mind that living in a wet or humid climate requires more frequent bike maintenance compared to living in a dry one. A mountain bike used on trails, gravel, or dirt roads will naturally require more attention than a road or city bike used on regular, urban streets.
What Tools Do I Need for Basic Bike Maintenance?

In order to perform basic bike maintenance at home, you will need to invest some money to get the most important tools.
Many of these tools are bike-specific, but they can be found online or in local bike shops and typically don’t cost too much unless you’re buying professional-grade equipment for bike mechanics (which you don’t need).
Most of these tools are also included in the best bike tool kits, so you can simply buy a tool kit and get most of the stuff you need for regular maintenance.
Here’s a list of the top essentials:
- Allen Key Set (Hex Wrenches) and Screwdrivers
- Floor Pump with Pressure Gauge
- Chain Breaker Tool
- Cassette Lockring Tool and Chain Whip
- Spoke Wrench
- Cable Cutters
- Grease and Lubricants
- Cleaning Supplies
- Puncture Repair Kit and Tire Levers
- Pedal Wrench
In addition to these essential tools, you could also invest in a bike repair stand and a torque wrench. These are optional items, but they will make your life easier.
Basic Bike Maintenance Before the Ride
Before each ride, check your bike briefly to ensure it is road-ready. Doing so will help prevent any issues from arising while you are riding.
Firstly, you need to check tire pressure to make sure it is within the recommended pressure range. Too much tire pressure makes a bike more uncomfortable to ride. It also reduces grip on the road, making handling more difficult (especially when cornering). On the other hand, too little pressure slows you down through increased friction. In addition, the likelihood of a pinch puncture increases.
Next, check the chain with a quick spin to ensure it is ready for the next ride. If looks and sounds dry and you are in a rush, you can simply wipe it with a dry rag and apply some bike chain oil quickly to prepare it for the next ride.
All You Need to Know About Disc Brakes for Bikes
You should also check how the brakes are working. Poorly functioning brakes can easily cause an accident. Brakes are the most important thing to check before you set off. Spin each wheel and check the corresponding brake is working properly. Also, ensure that the brake pads are not rubbing against the rim if you’re using rim brakes or against the rotors on disc brakes. In addition to that, you should also check the brake cable condition and the wear of disc brake pads.
Finally, ensure the lights are charged or have sufficient battery before you head out. If your lights run out of battery while you are riding, you may put yourself in a risk by not being visible to other riders. What’s more, if your rear light dies mid-ride, you may not even be aware of it until you stop and take a look.
Five Basic Bike Maintenance Procedures
1. Proper and Regular Chain Care
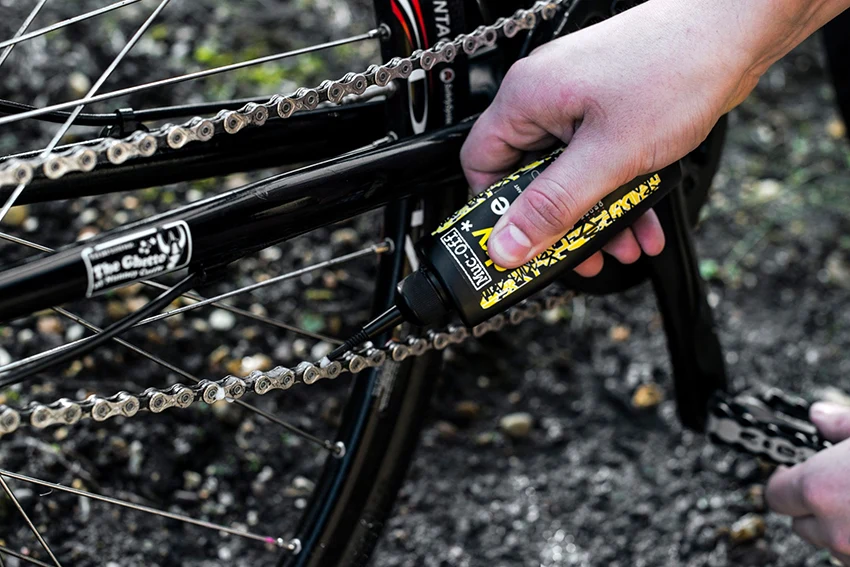
Image source: REI.com
The chain is what makes the wheels spin, right? So clean and lube the chain roughly every three or four weeks. You can purchase dry or wet chain lube based on where you live and ride.
Here’s a quick step-by-step guide on how to do it, and you can also read our full guide on the best bike chain lubes to get the best results.
- Using a rag or an old toothbrush, clean the chain with a degreaser or warm soapy water to get rid of old oil and dirt.
- Once clean, apply a thin layer of oil or other lubricant. Make sure to put one drop on each link, turning the pedals to ensure the lube spreads on the whole chain.
- Once fully lubed, let it sit for at least 15 minutes or overnight, and then wipe away excess oil.
- Make sure to keep the rest of the drivetrain clean as well, including the chainrings, rear cogs, and rear derailleur pulleys.
Finally, consider replacing the chain every 2,000 miles or so due to regular wear. If you fail to do so, you might damage the cassette and chainrings, which could end up being costly.
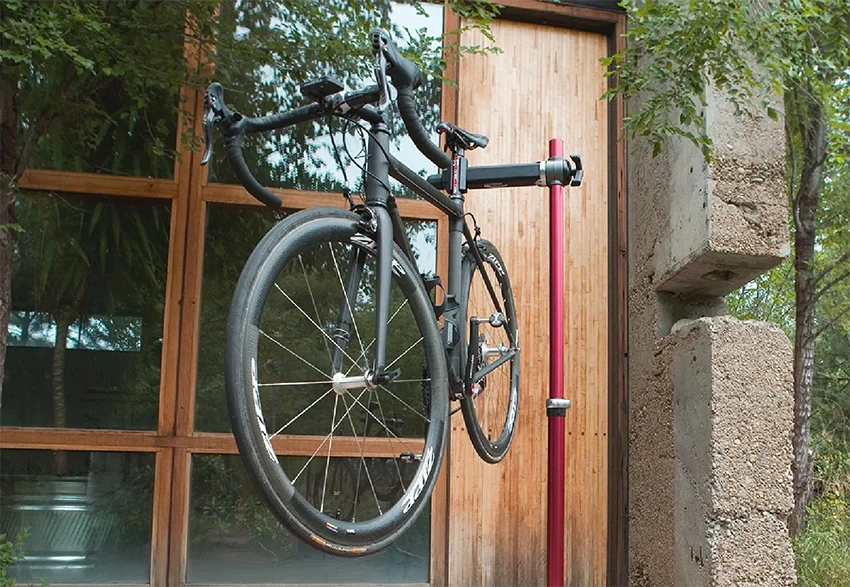
2. Regularly Checking the Tire Pressure
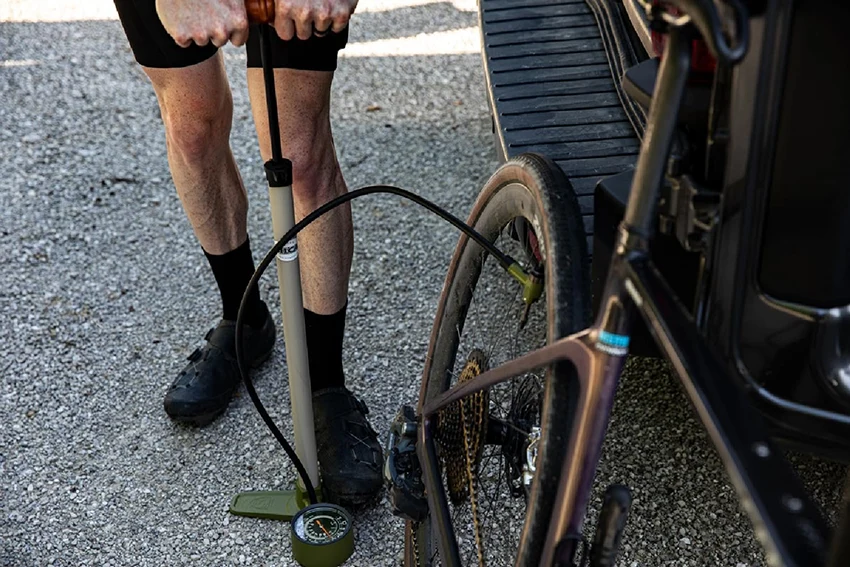
Image source: REI.com
Make sure to check your bicycle tire pressure regularly for optimal performance.
The target pressure range (PSI) is written on the tire wall, so you should try to stick to those guidelines for best results.
If you’re a heavy rider or you’re riding on firm surfaces, you should inflate the tires closer to the upper end of the range. Otherwise, stick to the middle or lower values.
You should also keep in mind that the rear tire should be inflated to a slightly higher pressure because more weight is distributed over the rear wheel.
In addition to inflating the tires regularly, you should also check your tires for regular wear and tear, as well as for any cuts or damage from road debris.
3. Repairing Flat Tires
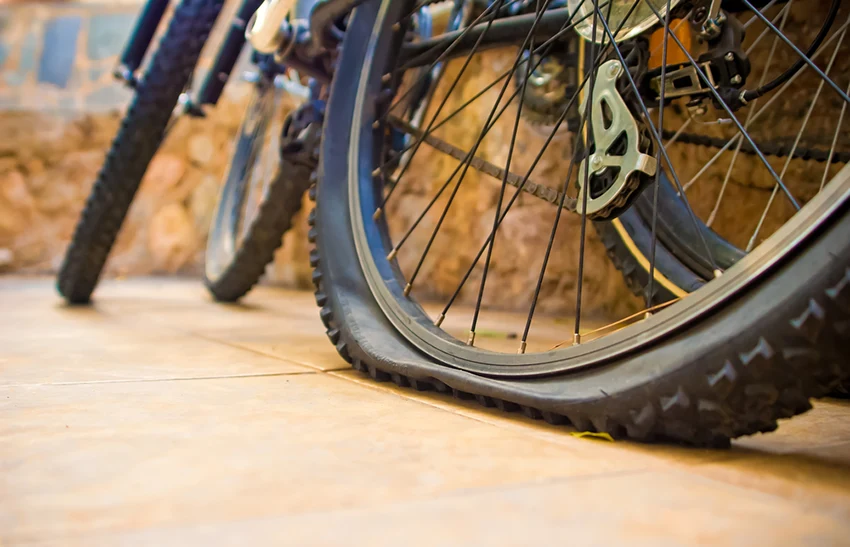
Knowing how to repair a flat tire is a must-know skill for any serious cyclist. If you get a puncture mid-ride, you will have to know how to fix it or you risk getting stranded far away from your home.
Here’s a quick step-by-step guide on how to do it quickly and continue with your ride as if nothing happened.
Of course, the tools you will need include a puncture repair kit with patches, tire levers, and a bike pump.
1. Remove the wheel: Most bikes have quick-release or thru-axle skewers, which makes removal fast and easy. However, you may need to use a multitool if your bike doesn’t have either of these. You may also need to release the rim brakes if your bike has them and shift the gears to the smallest gear if you’re removing your rear wheel.
2. Remove the tire with tire levers: Wedge one or two levers a few inches apart underneath the tire to gain space. Leave one or both levers in place and then wedge another lever alongside, and use it to release one side of the tire wall over the rim by moving it in a circular motion around the wheel.
3. Remove the inner tube: Let out all the remaining air from the tube. Once empty, pull the tube out.
4. Find the puncture on the tube and tire: Make sure to find where the puncture occurred and check that the offending object is not still lodged into the outer tire. Doing this will allow you to remove any sharp objects left in the tire so that they don’t puncture the new tube.
5. Replace the tube or use your puncture repair kit: Replace the tube with your spare tube, starting by inserting the valve through the rim hole. Before doing this, make sure to add just a little bit of air in order for the tube to take its shape. If you’re using a puncture patch kit, follow the instructions on the kit and wait a few minutes for the glue to set before installing the repaired tube.
Finally, install the tire using tire levers and inflate the tube to the corresponding pressure using a mini pump or floor pump.
4. Keeping the Bike Clean
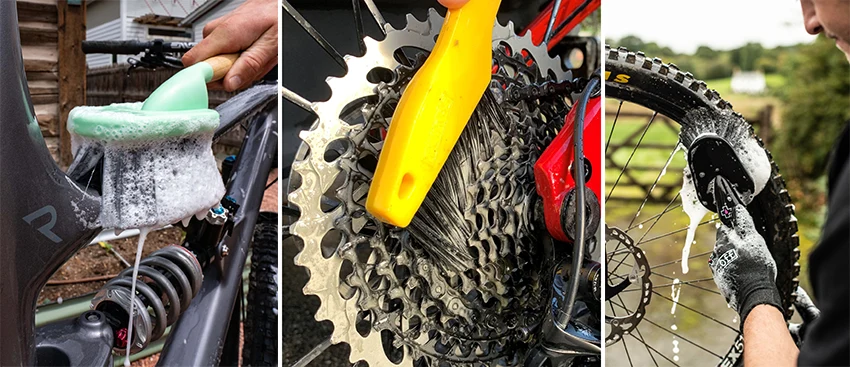
General cleanliness helps prevent more severe repair jobs by preventing rust and the buildup of dirt on and within components.
A clean bike (especially the drivetrain) will run more efficiently and quietly, making your ride more enjoyable.
To clean the bike, use warm soapy water, a soft brush or sponge for the frame, and a more coarse brush for the drivetrain components. To rinse the bike, use a low-pressure hose as high-pressure hoses can damage the bearings.
Finally, dry the bike thoroughly with a clean towel, paying particular attention to any areas with metal screws or components. After you’ve cleaned and dried the bike, make sure to apply a new layer of lube to the chain.
5. Checking the Whole Bike for Malfunctions

In addition to all the basic bike maintenance procedures we’ve talked about above, you should also make sure to regularly check if all the bolts and nuts are tensioned properly and if there are any obvious signs of damage on the frame and components.
Here are a few areas you should keep in mind when doing these regular bike checkups:
- Front of the Bike: Hold the front brake lever and try to move the bike back and forth. Do you feel anything loose, or is everything solid? If there’s even a little play, you should take immediate action since a loose headset and handlebar can lead to serious problems. First, loosen the two bolts on the stem, and tighten the center bolt inside (generally under a cover) by a quarter turn clockwise. Then, re-tighten the two bolts on the stem and see if it is still loose. But make sure not to over-tighten the stem.
- Check the Pedals: Do the pedals turn freely when you spin them? If not, replace the pedals or apply some lube to the axle. Make sure they are also firmly attached to the cranks, as sometimes the thread can get damaged.
- Adjust the Gears: Does each gear work properly when shifting? If there is a rattling noise, you may need to adjust the rear derailleur (and possibly the front one). You can use the barrel adjusters for quick adjustments of cable tension.
- Check the Cassette: Move the cassette side-to-side to check if there is any movement. If there’s noticeable movement, make sure to tighten it before the next ride. Also, with each chain replacement, check the wear of the cassette and replace it roughly once every 10,000 km.
- Check the wheels: Quick-release skewers might lose tension over time, so it’s wise to make sure there’s no play in the wheel. Side-to-side play can also mean that the hubs need servicing, so check them periodically.
From time to time, you can take your bike to a local bike shop or a bike mechanic just in case there are any bigger issues you are missing, especially if you’re inexperienced.
Final Thoughts About Basic Bike Maintenance
Bicycle maintenance can be easy and quick when you keep on top of the process. By doing it regularly, you can avoid bigger malfunctions that could cost you more time and money.
With this checklist of maintenance tips, you can easily extend the lifetime of your bicycle, saving you effort and money and making your bike riding more enjoyable.
We’d love to hear if you have any other bike maintenance tips and tricks, so let us know in the comments below!
Read Next
Share this on: