Cycling Technique Guide
Cycling with the correct technique helps you stay safe on the road, save energy with each pedal stroke, and avoid unnecessary injuries.
When you watch a professional cyclist, what they are doing seems relatively simple. But don’t be fooled by their effortlessness.
Stressful situations, like cycling in a packed peloton at high speeds or descending a steep grade at up to 60 miles an hour, are extremely difficult and require highly refined techniques when they pedal, corner, change gears, and brake.
While most of us won’t be racing in these situations, the good news is that we can break down professional cycling techniques to help improve our own. Whether you are a weekend warrior or a racing competitor.
In this article, we will highlight some of the common areas cyclists can improve upon, with learning points for each. These points translate mostly to gravel/road cycling, with some crossover to mountain biking.
Table of Contents
1. Positioning
2. Pedalling Technique
3. Safe & Effective Braking
4. Using Your Gears Effectively
5. Cornering
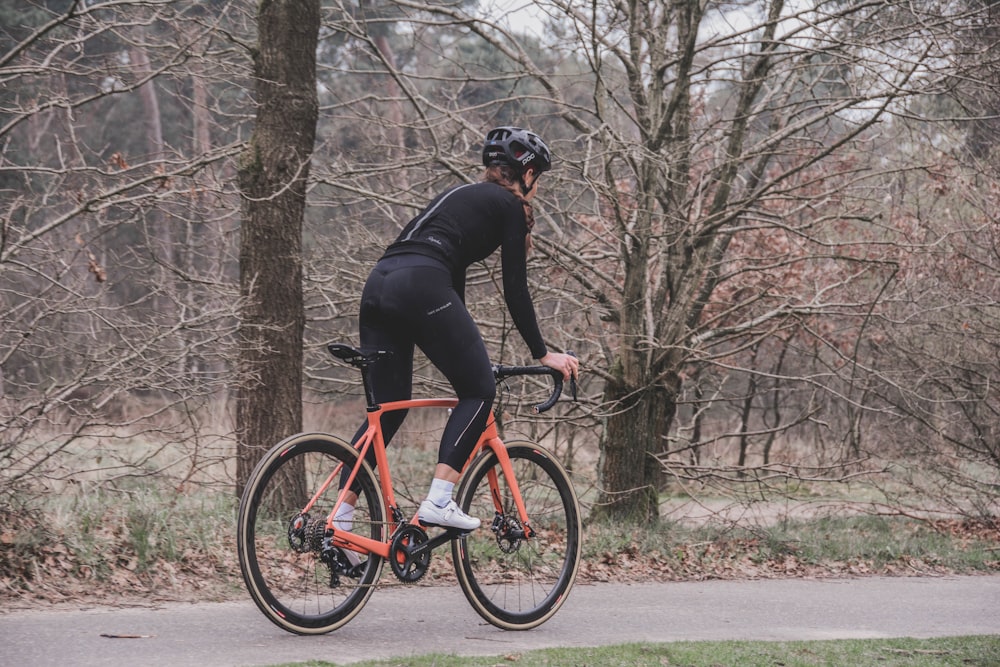
Bike Fit & Riding Posture

To achieve an efficient position on your bicycle it must be fit to your body. An incorrect size or adjustment results in scenarios like overreaching for the handlebars or bunching up because they are too close.
A well-fit bike can help you avoid overuse injuries that occur from bad positioning. It will also make your rides generally more comfortable and enjoyable, all while providing performance gains through better riding efficiency.
There are 2 main positions to switch between while riding. Take advantage of both.
Standing while you ride serves two functions. Before you stand, switch to a higher gear than the one you were using while sitting.
- Climbing uphill – Because standing increases your ability to generate power, it can help when you are riding on a particularly steep section of the road. However, standing uses more energy than sitting
- Relieve pressure – Stand up during your ride to help relieve the pressure that builds from sitting on the saddle. When you stand, blood can flow back into any areas that may have been restricted while sitting
Sitting is the most common position to ride in. It is usually the most efficient (energy-saving) and comfortable position. While you ride sitting down, your arms should be at a 90-degree angle to your body (if your bike fits) with a slight bend in the elbow to help absorb any shocks.
Hand Position

This particular section is relevant to drop-style handlebars, as there are three distinct hand positions to take advantage of. Each position has its pros and cons, and using all three helps relieve pressure on the wrists from using just one position.
Hoods – This is the most common position for your hands, both while standing and sitting. Your hands sit comfortably on the hoods with your fingers hovering over the brakes/shifters for quick access.
Drops – This is the most aerodynamic (aero) position you can achieve on a bike.
Times to use the drops include riding against the wind, to generate a lot of power and be aero while standing and sprinting (pull up on the bars while you push down on the pedals), or for taking corners and downhill as it provides better weight distribution and control.
Tops – This is the most upright position, and is quite comfortable. Use the flat piece of the handlebar when you are sitting down only. With this hand position, your hands are far from the brakes/gears, so you will need more time to react to changes in your environment.
It works best for long steady climbs where your speed is lower and the gradient is not changing as frequently.
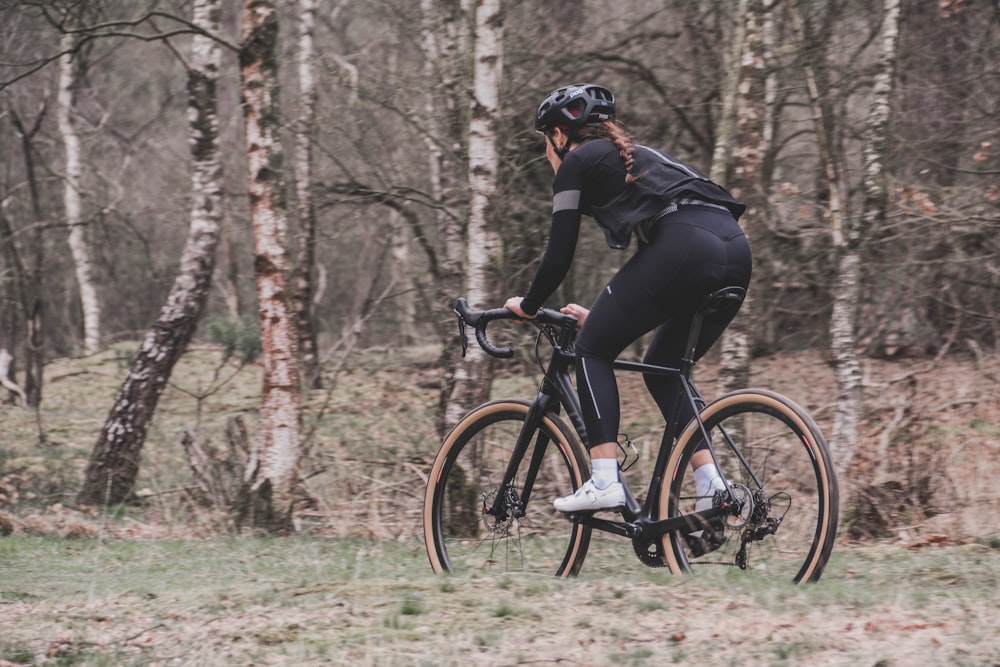
Upper Body Position
While riding, it is important to have stability in your spine and abdominal region. This stability helps with smooth energy transfer and thus better power output. It is easiest to achieve stability in the torso when your back is in a neutral (straight) position.
The shape and position that your torso assumes while riding your bicycle are dictated mostly by the fit of your bike. A poorly fit bike will lead to hunched shoulders and upper back or an uneven position due to overreaching.
You should aim to keep a straight line from your hips to your shoulders, while not arching your neck either.
Pedaling Technique
Although it appears simple at first glance, having an efficient pedal stroke is tricky and takes practice for most people.
If you pedal with clipless pedals (mountain/road) or toe cages, you can apply pressure through the whole revolution, not just the downward part.
Why is Pedaling Technique Important?
If you are efficient when you pedal, you will maximize the amount of power you generate from each revolution. This saves you energy and gets you where you want to go faster. It can also save you from common cycling ailments, such as knee pain and lower back pain.
If you improve your pedaling technique and efficiency, you may see a noticeable improvement in your energy expenditure.
As we mentioned above, before you start riding, get a professional bike fitting. Any area of your bike that is a sub-optimal fit will reflect negatively on your technique. For example, a high seat will lead to the rider pointing toes to finish the stroke. A low seat results in knee lifting and an unfinished stroke.
The Stroke

Image source: welovecycling.com
Pedaling is a circular motion. To be efficient, you must maintain force throughout the whole circle to make it as smooth as possible. Let’s think of the circle split into 2 semicircles.
Power phase – This part is easier to get right. At 12 o’clock, begin pushing the foot forward. Once at 3 o’clock, continue with constant smooth pressure.
Don’t make a jerky or piston-like pushing motion. Keep your foot close to, slightly above, or slightly below a 90-degree angle.
Recovery phase – At roughly 6 o’clock, start the motion like you are scraping dirt off the bottom of your shoe, with a very slight pointing of the toes.
At roughly 9 o’clock, continue with the momentum and don’t make any sudden pulling movements. Focus on getting your leg out of the way instead of actively pulling up. Maintain an even tempo.
Pulling up on the pedal actively does not improve your pedal stroke.
How Can I Improve My Stroke?
- Always apply pressure evenly with each leg. It should be as close to 50/50 as possible
- Maintain alignment between your ankle, knee, and hip
- When practicing your stroke, try not to stand up. This can compromise your technique making it difficult to achieve an even stroke
- Generally, try to maintain a consistent cadence (pedaling speed measured in revolutions per minute) between 80-100 rpm, unless practicing drills. Ride at the cadence your body naturally feels comfortable with
- Stay steady or “quiet” in your upper body. This transfers directly to smoother pedaling. However, this gets difficult the more you are exerting yourself like on climbs or at high speeds
Improvement Drills
- Practice a range of cadences throughout your ride. This will help you develop efficiency when your cadence has to change going uphill, on the flat, and going downhill.
- Do single-leg training. Unclip one foot once warmed up, and practice smooth stroke pedaling with one leg. Swap when your leg begins to fatigue.
- Practice on a spinbike, Wattbike, or turbotrainer. This allows you to monitor your cadence, and gradually target higher cadences while maintaining a smooth stroke.
- Strengthen your core muscles. Strong core muscles help you maintain a good position, promote stability, and facilitate power transfer that aids with your pedaling technique and power.
Safe & Effective Braking Technique

Braking is one of the most important skills to have on a bike. By improving your braking technique, you will be able to slow down faster and more safely, it will allow you to gain seconds riding downhill and around corners, and you will also ride more confidently in a group setting.
Braking is not as simple as just pulling on the levers. Here are 7 important things that will help you slow down safely and efficiently.
1. Front brake – Use your front brake more than your back, the front brake is more effective. The percentage breakdown should be roughly 70/30 front and back respectively.
2. Body positioning – The general rule is that the harder you brake the farther back your bodyweight needs to go.
For an emergency stop, you will need to apply pressure heavily to both brakes. In order to do this safely shift your weight backward on your bike by hovering your butt slightly behind the saddle. This helps to stop you from tipping over the handlebars. Apply pressure to the brakes gradually when stopping in regular circumstances.
3. Rim vs. Disc brakes – Rim-style brakes require a longer time to stop when in wet weather compared with disc brakes. This is because rim brakes need a full revolution to wipe away water before they grip.
All You Need to Know About Disc Brakes for Bikes
4. Air-braking – This is essentially braking without using your bike’s brakes. Cyclists can use wind resistance to brake while going at high speeds or descending steep hills.
It is done by sitting up into a less aerodynamic position to catch the wind and thus slow down. With this technique, you lose speed gradually and still have the ability to carry your momentum by pedaling softly. Air-braking done correctly allows you to travel in a smooth motion with less jerky stop-start pedaling and braking.
5. Road surface – Pay attention to the road surface while you’re riding. Loose gravel for example will make braking safely more difficult.
6. Braking in corners – Avoid braking in corners where possible as it will make your tires more susceptible to slipping. If you must brake in a corner for some reason, straighten out your bike as much as possible before doing so.
7. Riding in a group – When riding in a group, use your brakes only when necessary. It is dangerous for those riding behind you.
Practicing Braking
To practice braking, you will need to try braking at different speeds, in different places, and on different surfaces. You can find a quiet piece of road to practice this type of drill.
There is, however, no replacement for hours in the saddle. Get out there and ride your bike regularly in different places and with different people. This is the best way to get used to braking efficiently and safely.
Using Your Gears Effectively

With practice, you will get used to your own bicycle’s gears, and how best to use them. Using your gears effectively helps you maintain a steady cadence as we spoke about in the pedaling section.
Shifting Your Gears
The left side – Changes the front chainring and makes a major change in gear.
The right side – Changes the cogs at the back and makes a small, incremental change in gear.
The smaller the ring in the front chainrings, the easier the gear. The smaller the cog in the back cassette, the harder the gear.
When should I use the front gears and back gears?
To maintain a smooth cadence you will mostly use the small cogs on the cassette at the back. When you get towards the outermost cogs on the cassette, then you will switch between the two or three chainrings you have in the front of your drivetrain.
When should I change gears?

- Change to an easier (smaller) gear just before you reach a sharp corner, a steep section of road, or a traffic junction. This allows you to continue with a smooth cadence or to start easily when you need to begin pedaling again.
- Change to a higher gear when your cadence gets too high and you start bouncing in the saddle.
- Always change gear when you are not pressing hard on the pedals.
- Always anticipate your gear change. The ability to do this comes with practice and requires focus on the environment ahead.
Here are another couple of top tips:
- Avoid the ‘crossed chain’ as that puts extra stress on the drivetrain.
Instead – When your bicycle has two or three chainrings in the front – try to avoid using the big chainring at the front with the big cog at the back, and vice versa. 1. On a single front chainring, this is unavoidable - When you need to stand, shift 1-2 gears higher
- Keep your bike clean and maintained for smooth gear changing
Cornering
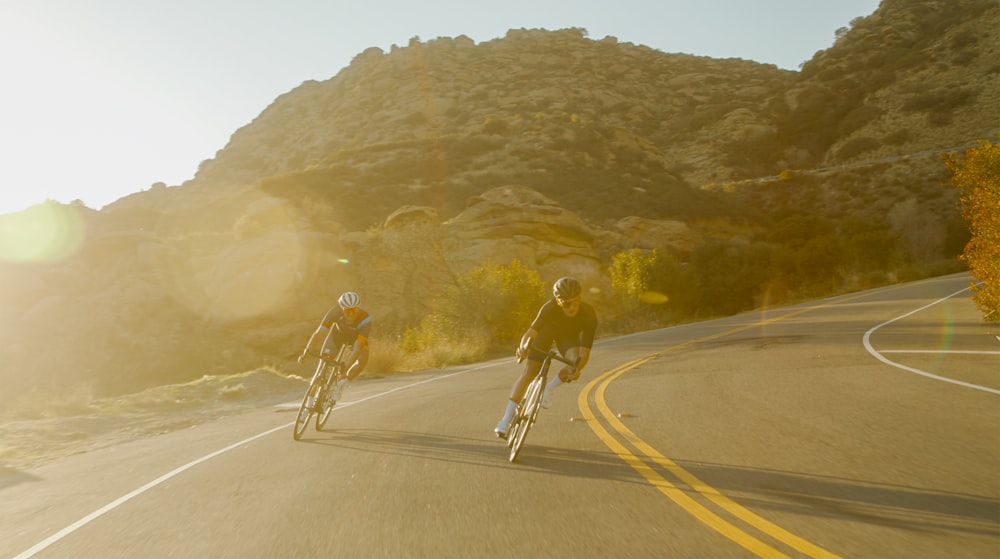
Practicing a good cornering technique helps to stay safe and efficient, saving energy, time, and unnecessary bumps and bruises.
Always relax your body while cornering and riding in general, maintaining a speed at which you are comfortable. The following tips will help you safely navigate those tight twists and turns:
- Look towards the exit – When taking a corner, look where you want to go, not directly in front of you. This is counterintuitive but significantly helps with control.
- Foot position – Keep the foot/pedal that is on the outside of the turn down at 6 o’clock and maintain pressure on it while you take the corner. This helps you maintain grip.
- Lean your bike – To take a corner effectively you will need to slightly lean your bike. Do not pedal while leaning as your inside pedal may hit the ground. Wait until you have straightened up again and coming out of the corner to begin pedaling once more.
- Speed – Slow down before you get to the corner. Maintaining a high speed makes it difficult to control your bike.
- Body position – Keep a low center of gravity, potentially using the drops. Keep your torso parallel to the group to evenly distribute your weight
Conclusion
Improving your technique on a bike will help keep you safe and out of many dangerous situations.
Good positioning, combined with a smooth pedaling stroke, good cornering, and efficient use of your gears and brakes, will not only make cycling easier but will allow you to go farther and enjoy your rides more.
To make progress in any of the areas of technique we have outlined, you must practice two or more times per week. The ideal way to improve is a combination of regular riding with some of the drills we mentioned at the end of each section. Focus on improving one technique per ride.
The important thing is to get out there and have fun, and there is no better way to do that than on two wheels.
RELATED
Strength Training for Cyclists
Share this on: